Creating a Local Data Repository in a Test Case
- 04 Feb 2024
- 1 Minute to read
- Print
- DarkLight
Creating a Local Data Repository in a Test Case
- Updated on 04 Feb 2024
- 1 Minute to read
- Print
- DarkLight
Article summary
Did you find this summary helpful?
Thank you for your feedback!
Local Data Repository (LDR) is akin to a spreadsheet that contains various data sets, allowing you to run iterations of specific test steps with different data values within a test case.
For instance, consider a scenario where you're testing a sign-up feature of a website. The LDR can hold different datasets such as varying email addresses, passwords, and user details, enabling the test case to simulate sign-up attempts with diverse input combinations.
This repository provides flexibility through features like adding new datasets, modifying rows or columns, and importing/exporting data from Excel. When you integrate a local data repository into a test case, the associated test step(s) iterate based on the corresponding DataRow in the LDR.
Steps
Hover over the Automate section and click Test. Open the test case where you want to create and use your local data repository.
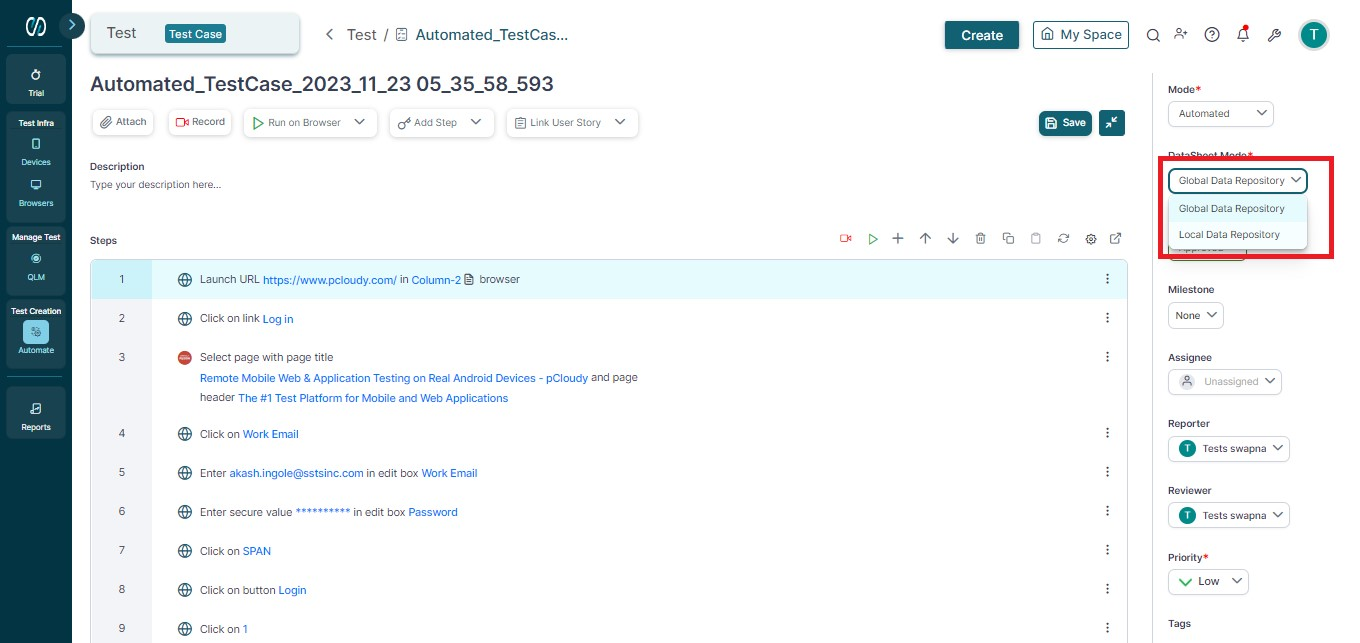
In a test case, by default, Global Data Repository mode is selected. Click on the dropdown present on the automated test case to change the mode of the data to Local Data Repository.
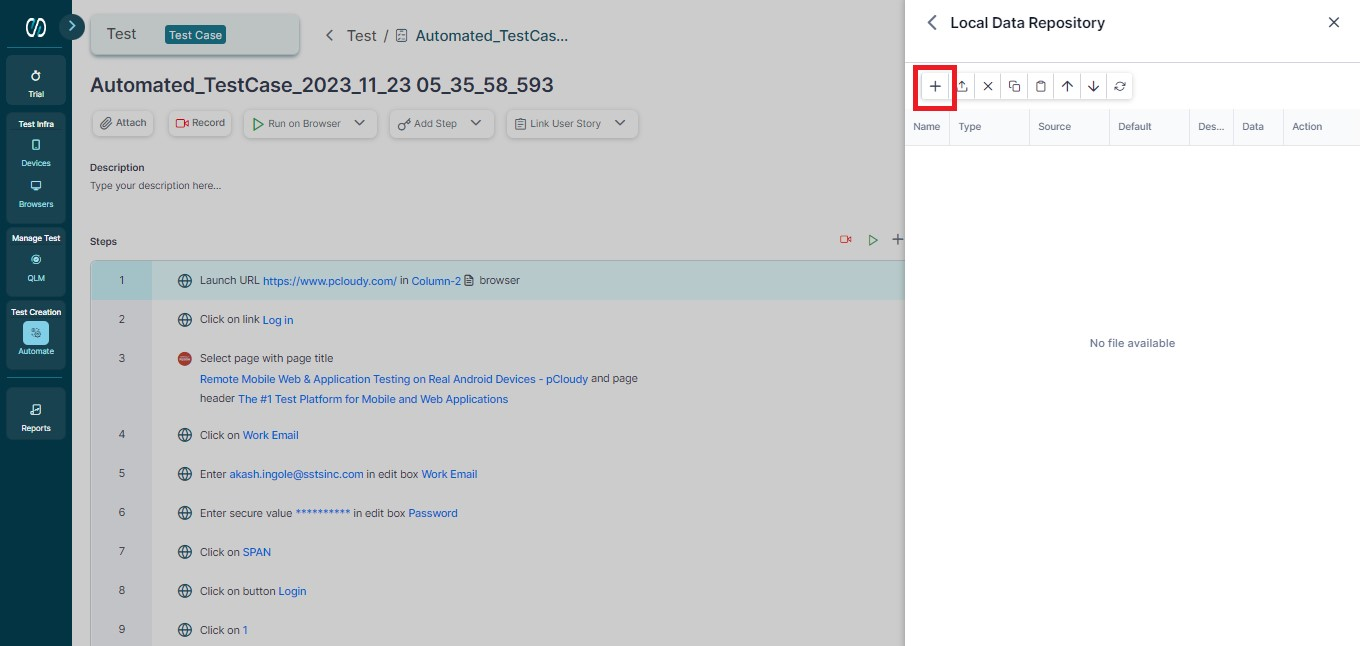
In the icon next to the dropdown, you can create Local Data Repository. A new page opens up on the right pane where you get the option of adding a new LDR.
Open the datasheet and click Enable Editing option to unlock the datasheet.
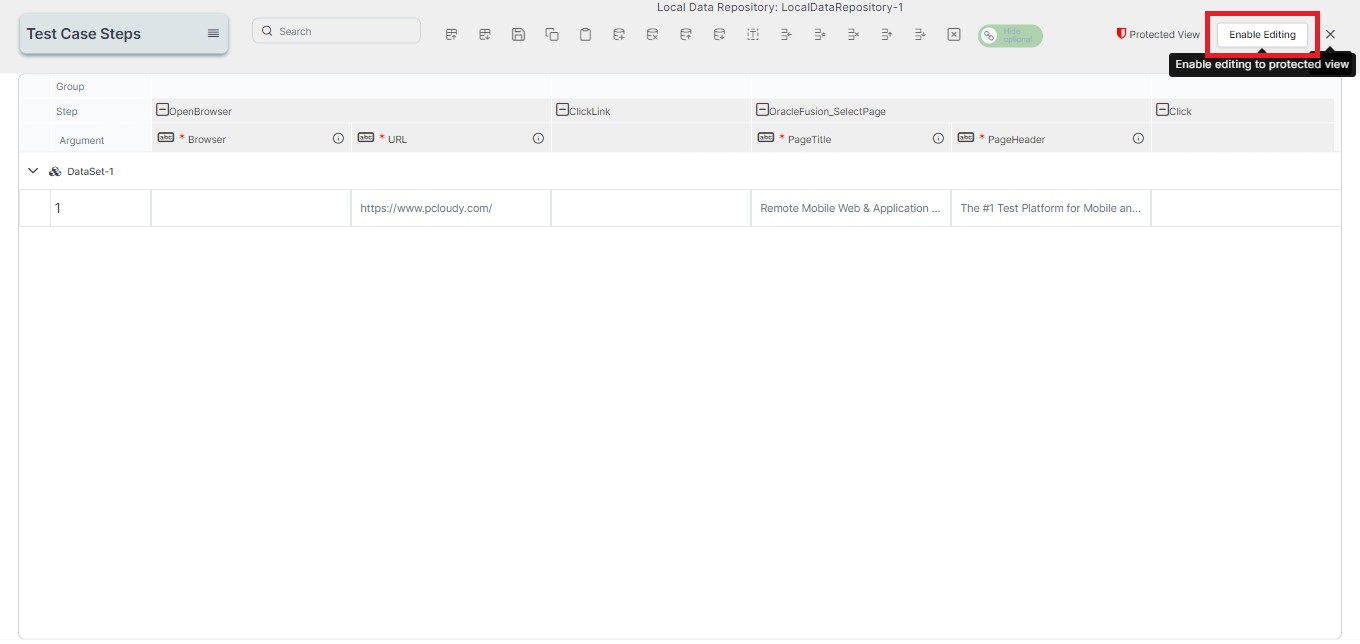
The number of columns in the Local Data Repository is equal to the number of test steps in the Test Case.
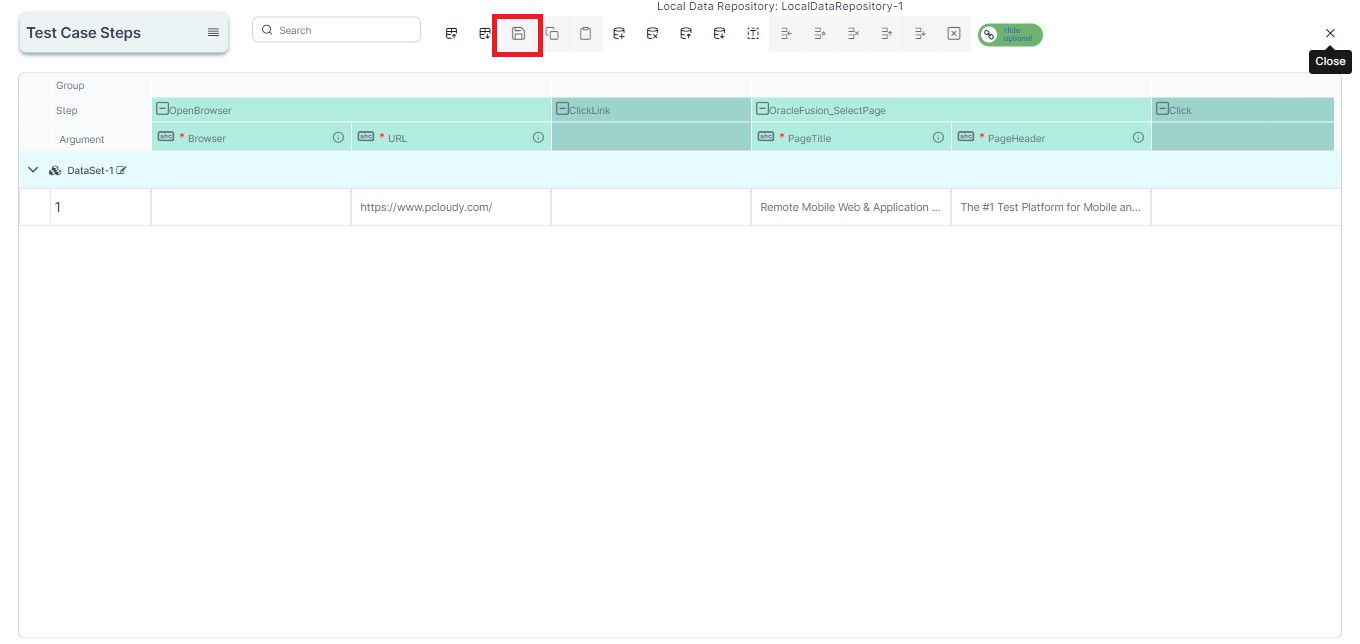
You can add either a single or multiple Datasets divided into rows and columns in your LDR. The number of datasets in the Local Data Repository defines the number of iterations a step will go through.
After entering the relevant data in the LDR, click the Save button at the top to save the inputs.
Click on the Run button to execute the test case.
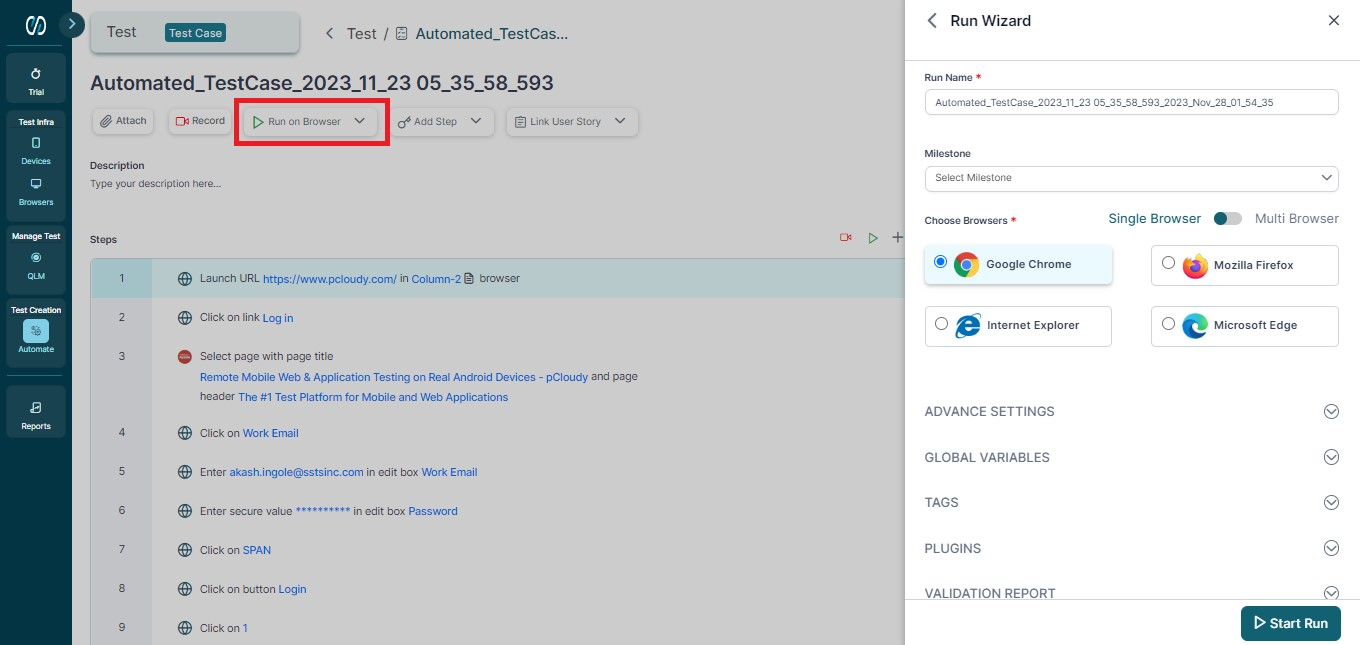
The Run Wizard will open up on the right pane. Enter details like Run Name and Milestone and select the browser.
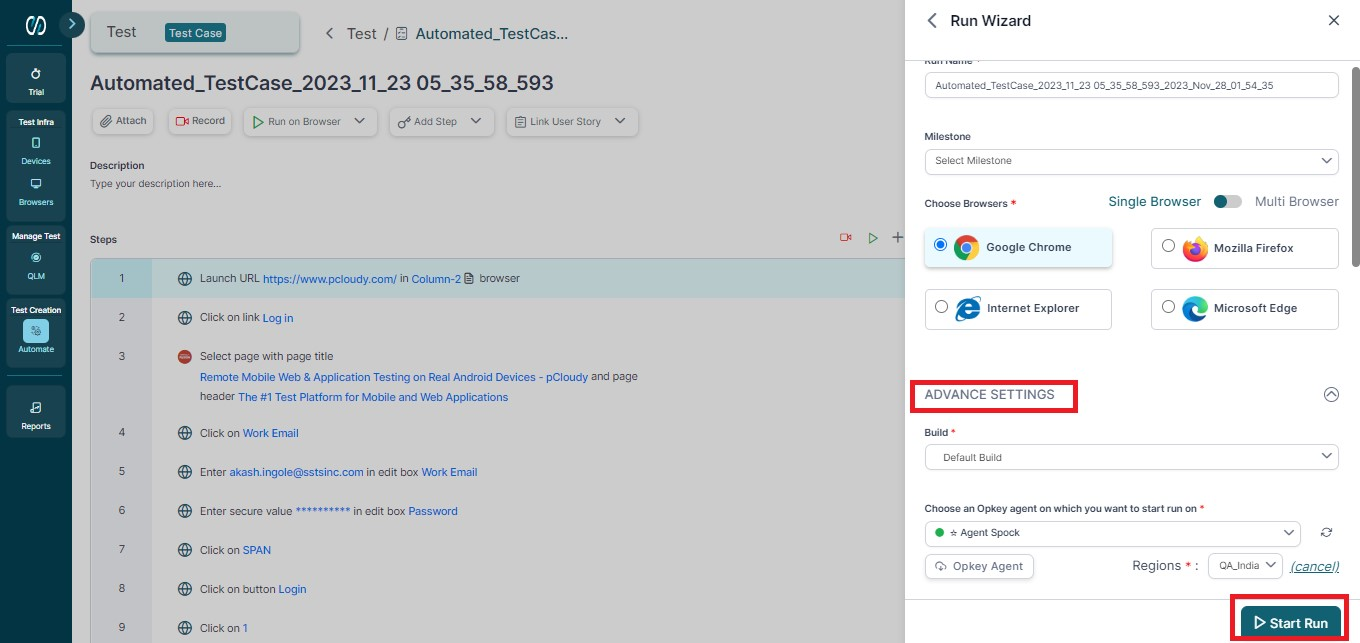
Under ‘Advance Setting’, select the build, agent, and plugin. Click Start Run.
Once the execution is complete, you can view the result by clicking on View Result.
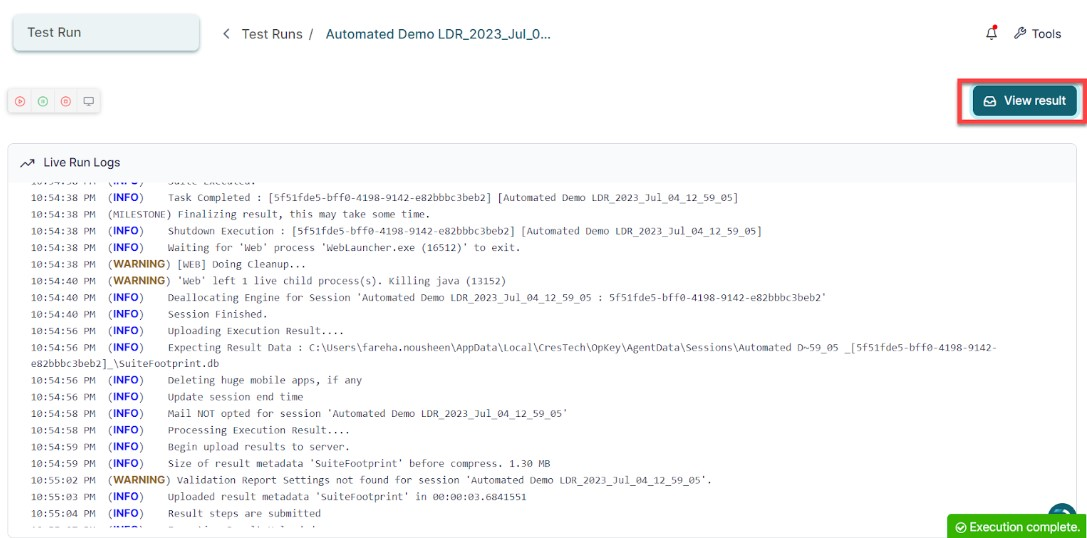
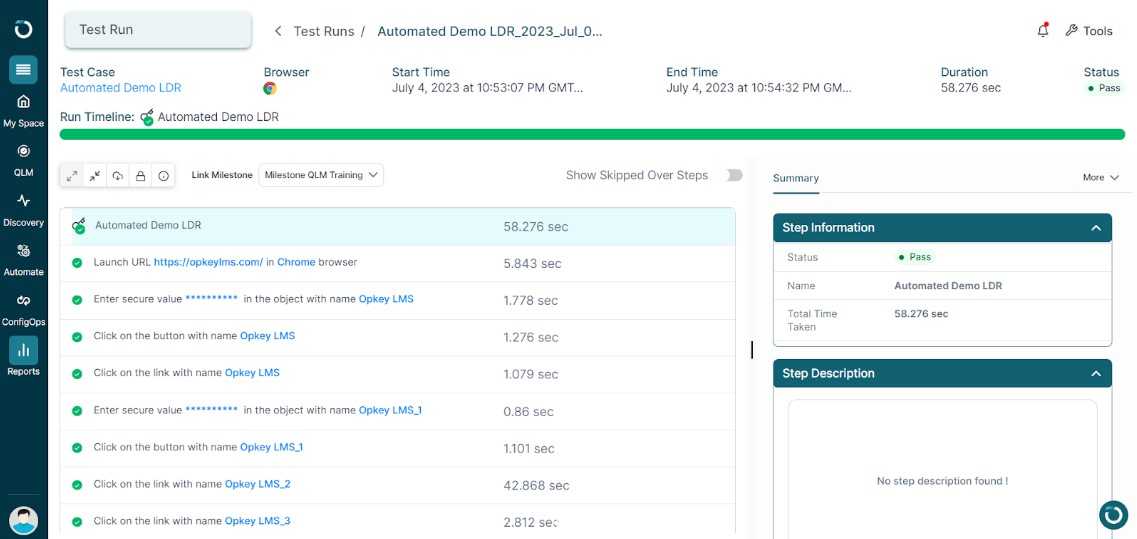
During the execution, the data gets picked up from the datasheet. On clicking the ‘View Result’ button, you can view the details of the executed test case.


Was this article helpful?