- 09 Apr 2025
- 3 Minutes to read
- Print
- DarkLight
QLens - Visual AI for Mobile Usability Testing
- Updated on 09 Apr 2025
- 3 Minutes to read
- Print
- DarkLight
Overview
QLens provides an advanced visual AI solution designed to enhance usability by accurately identifying and comparing visual discrepancies across images of the same artifact, captured in varying conditions. Users can select comparison parameters such as resolution, browser, OS version, and platform to customize their testing environment.
With QLens, users can perform image comparisons through both side-by-side and overlay views, as well as zoom in/out and pan for a closer inspection of details, it provides a quick overview of the visual inconsistencies when you hover over the differences as well. QLens also features an option to mark inconsistencies, making it easier to spot deviations. Test results can be marked as pass/fail and saved for future reference, supporting continuous improvement in app visual quality.
Steps
1. Starting Visual AI Testing
- To initiate Visual AI testing, include the following command in your automation script:
Map<String, Object> params = new HashMap<>();
params.put("screenshotName", "Screenshot1");
driver.executeScript("qlens.takeScreenshot", params);
System.out.println("1");
- Here " Screenshot1" is screenshot name.
- Ensure that each screenshot has a unique name within the project.
2. First Run (Initial Baseline Creation)
For the first run, no baseline image exists for comparison. This run will be auto approved as the baseline image.
3. Accessing the QLens Dashboard
After executing the first run, follow these steps to view the project and build details:
Log in to the Pcloudy platform.
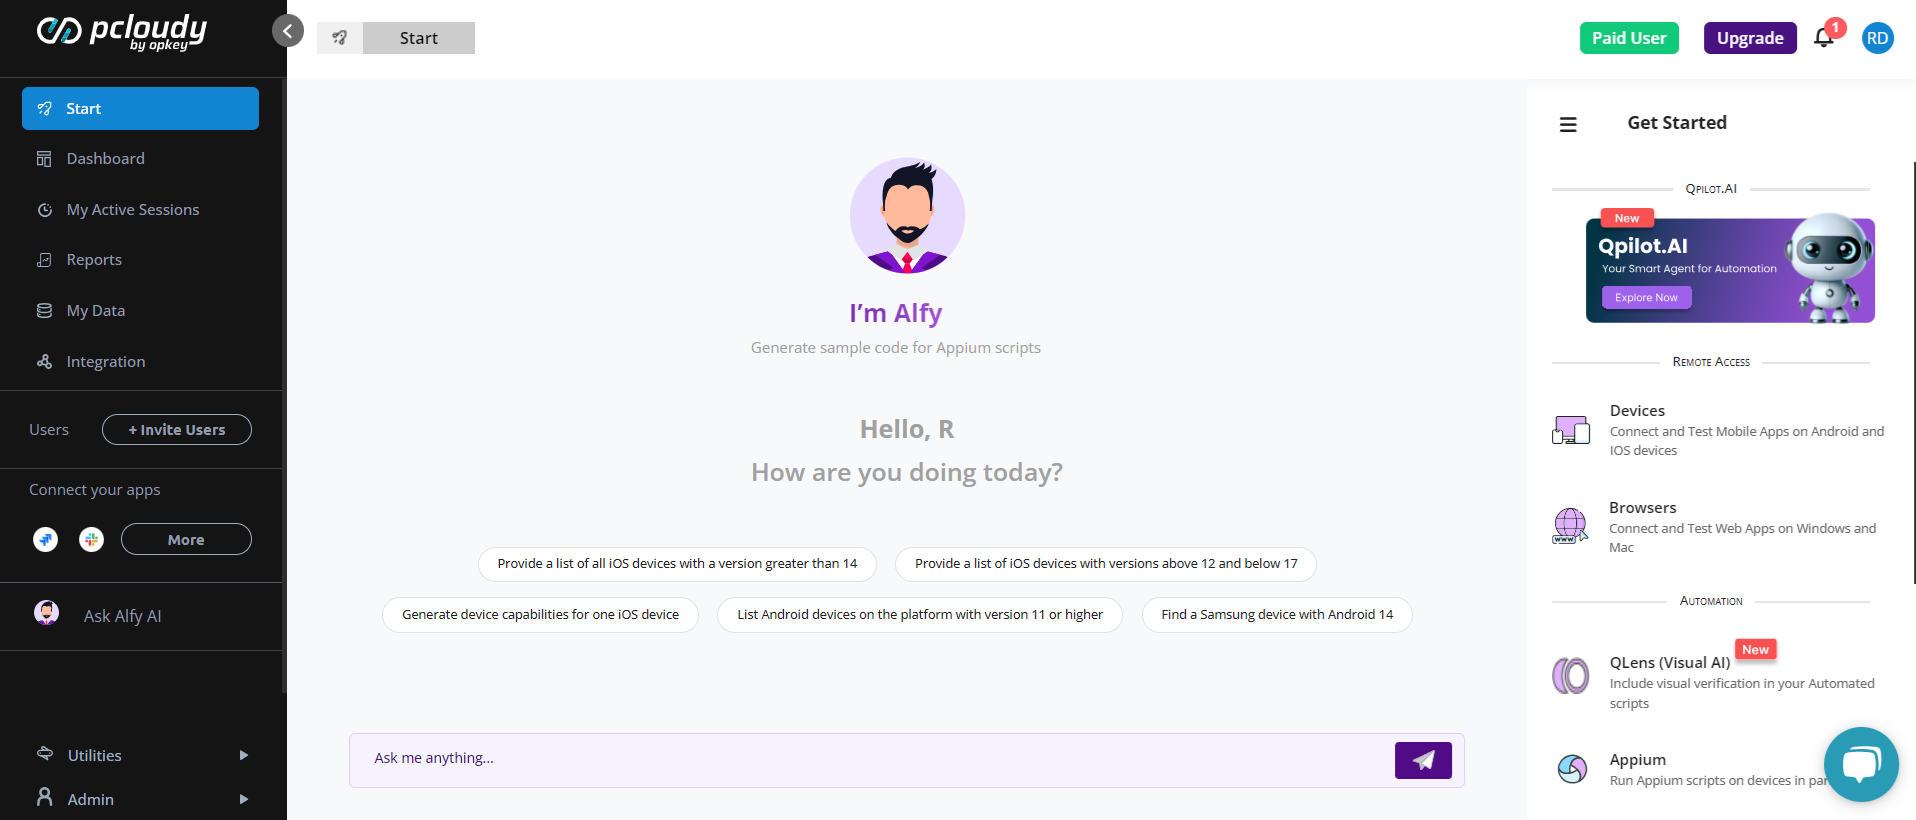
Navigate to the Reports section.
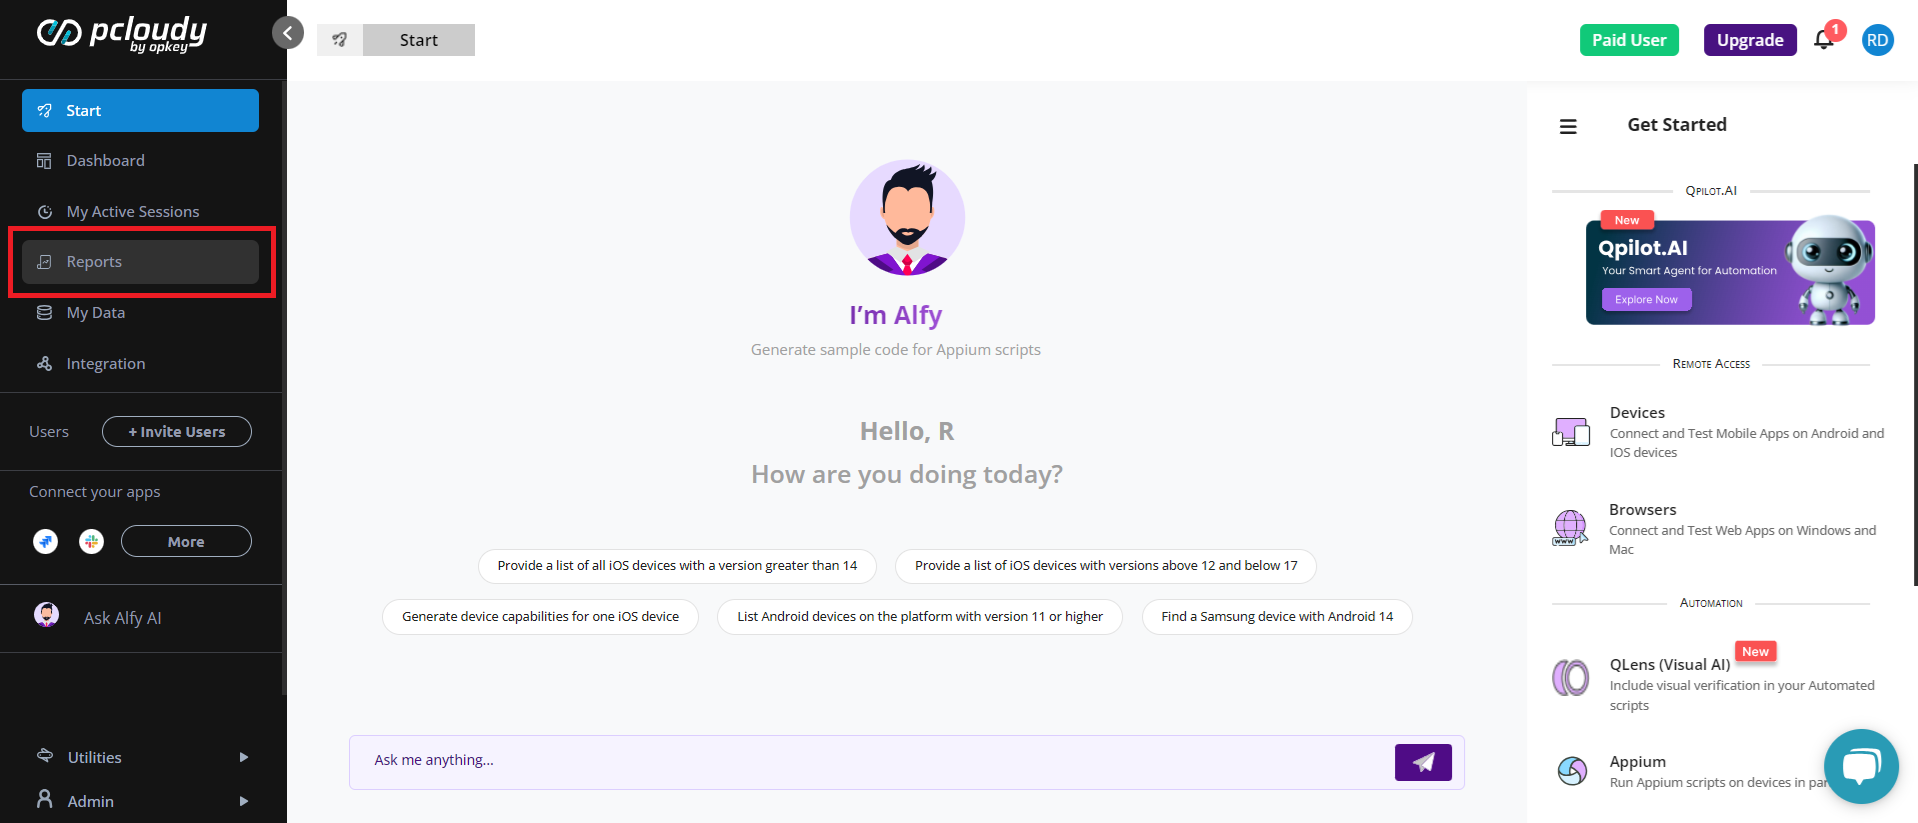
Click the QLens icon to open the QLens Dashboard.

View your projects and run details in the dashboard.
4. Navigating the Lens Dashboard
The QLens Dashboard displays your projects and the associated runs. Here's how to explore them:
Open a Run: Select a run to see the saved screenshots.

View Screenshots: Click on a screenshot to view both the baseline and the compared/checkpoint image.
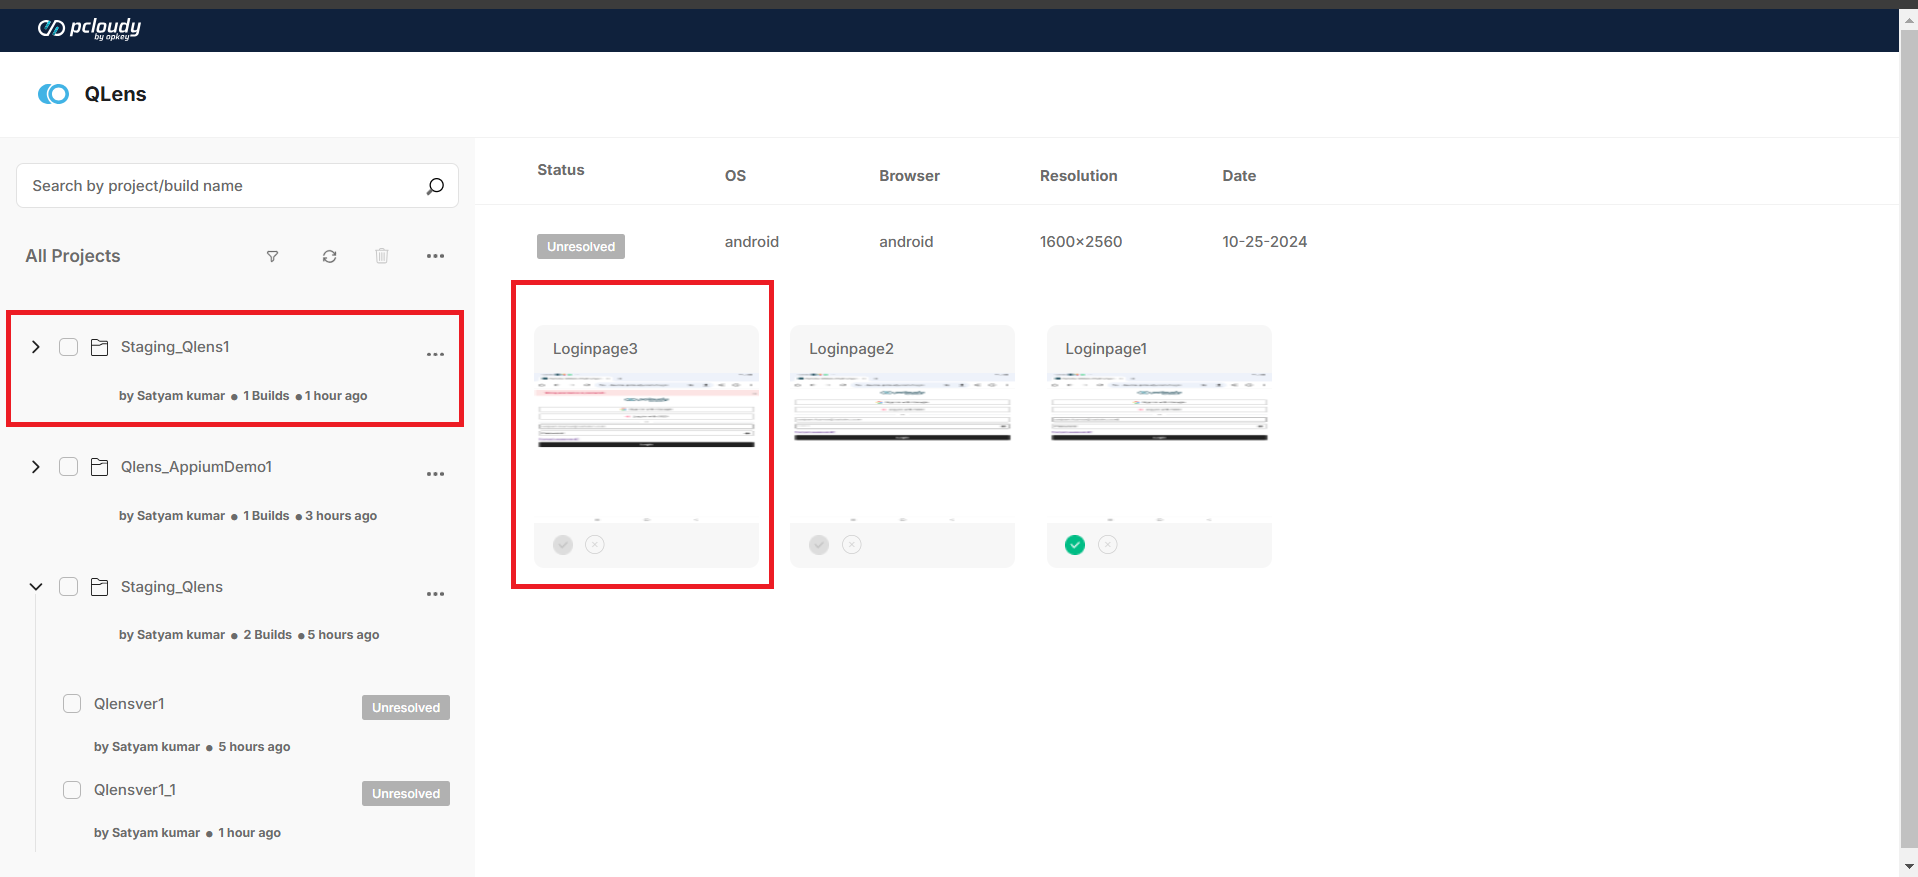
5. Viewing Differences Between Images
To compare images:
Click on a screenshot to open it.
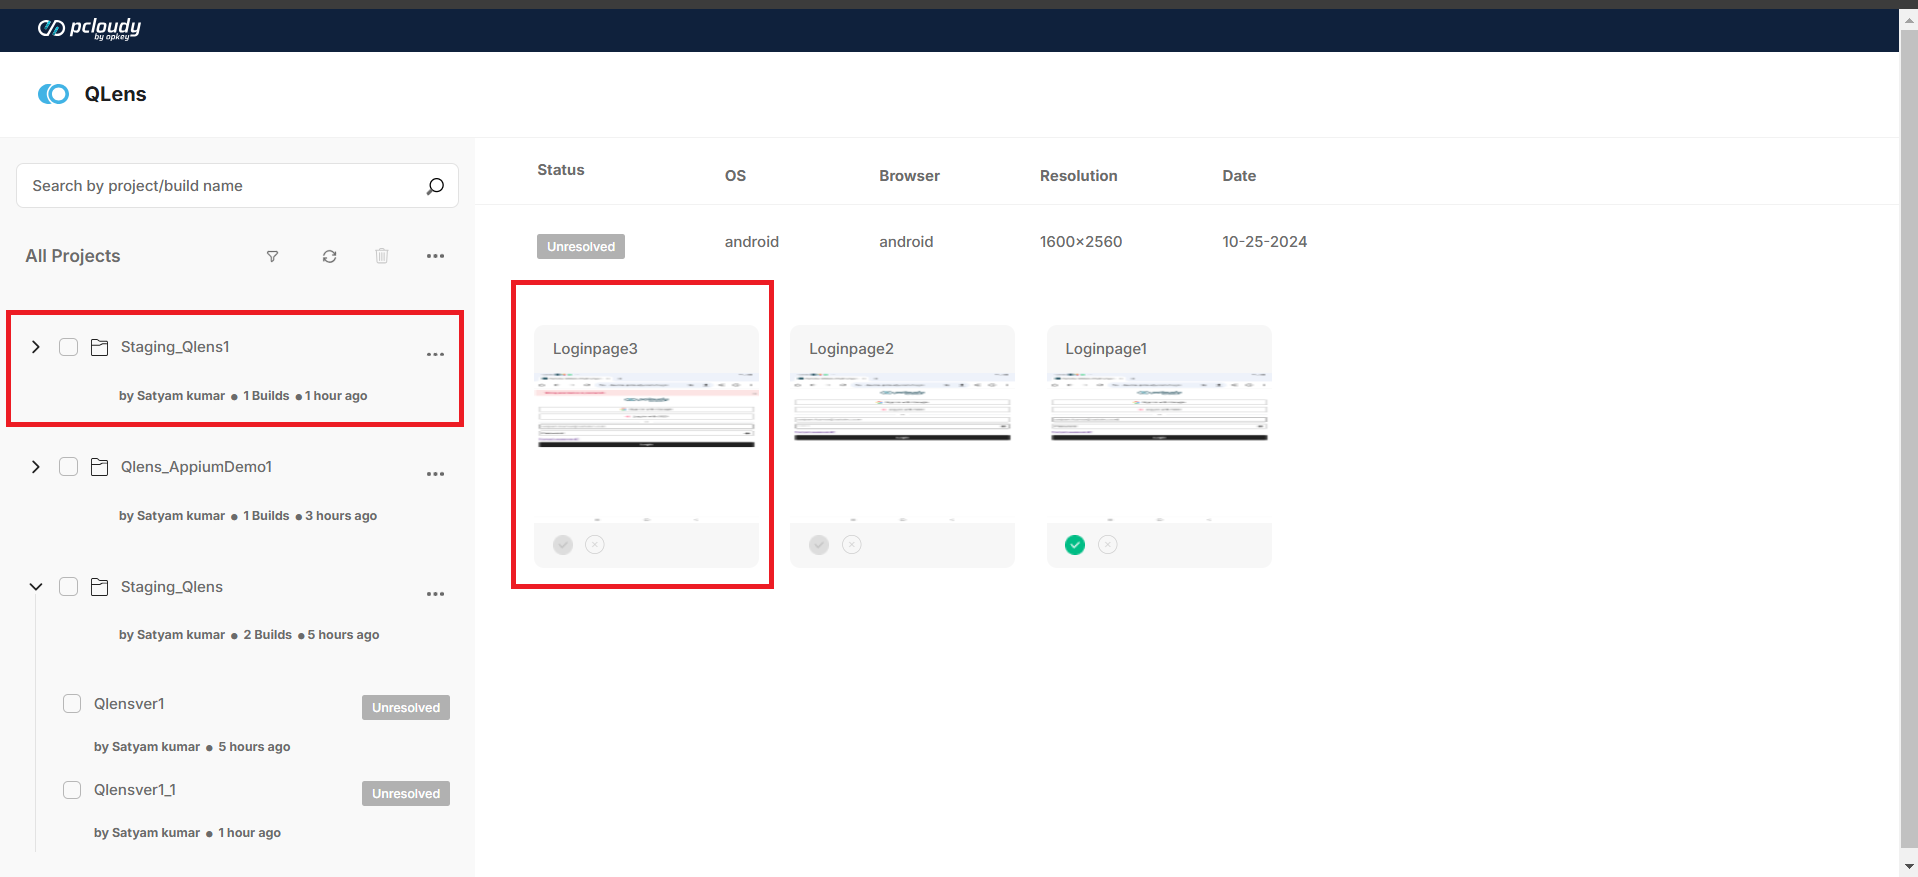
View the baseline and compared image side by side.
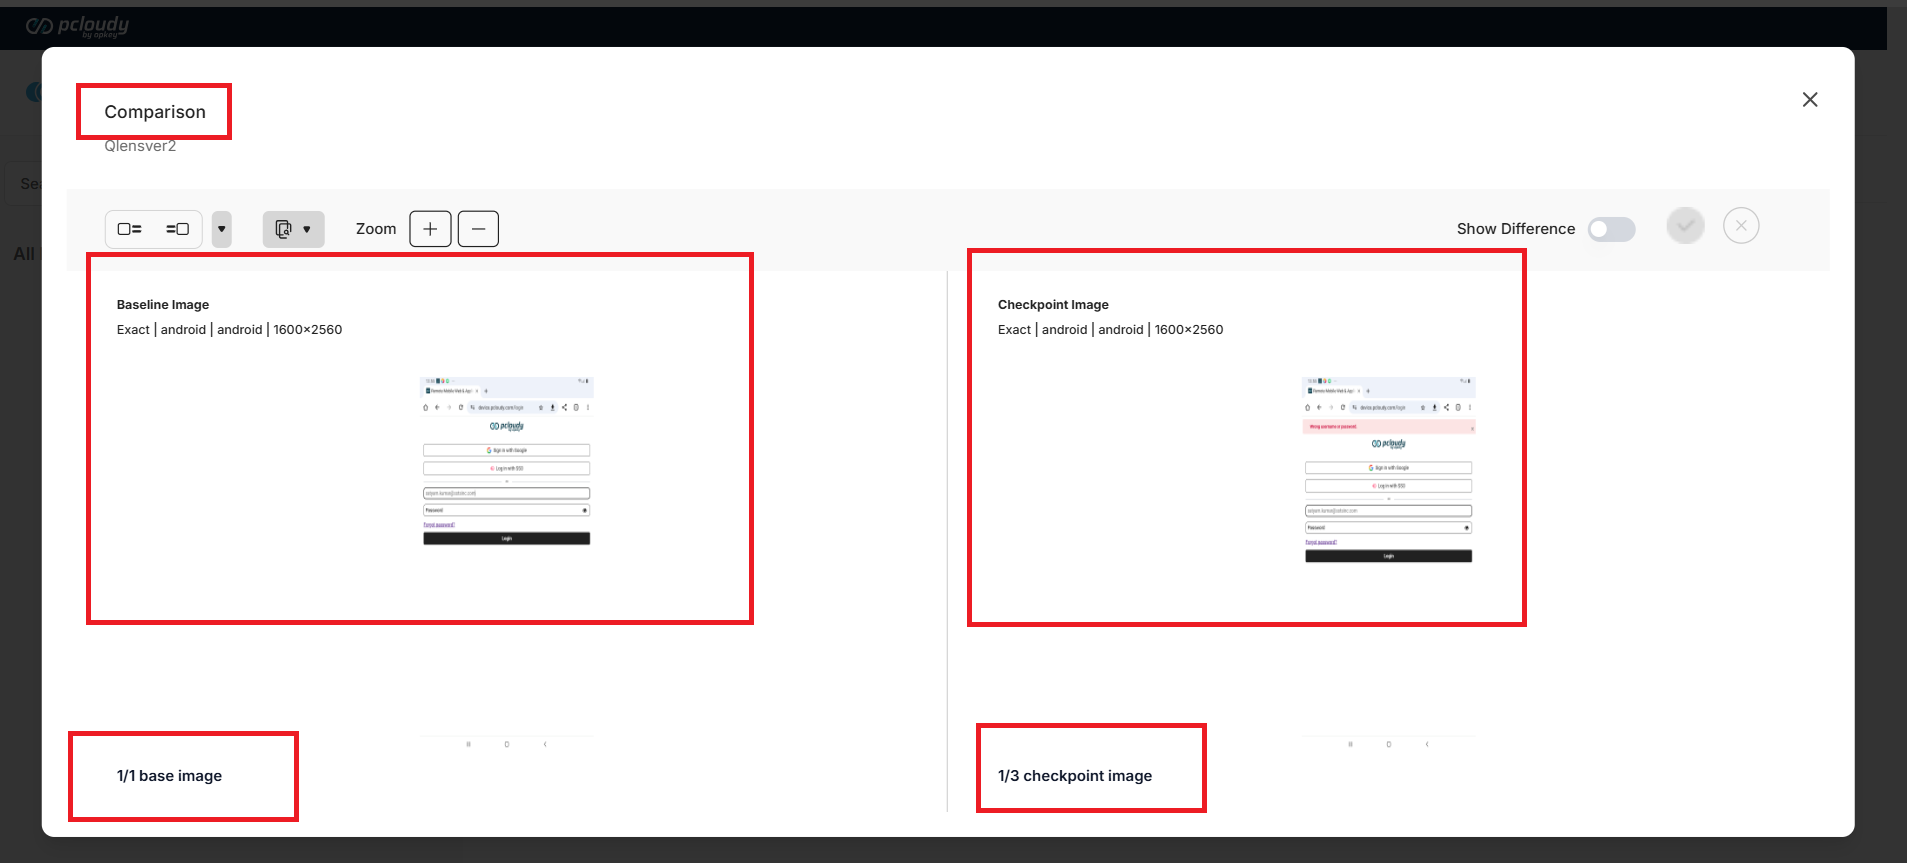
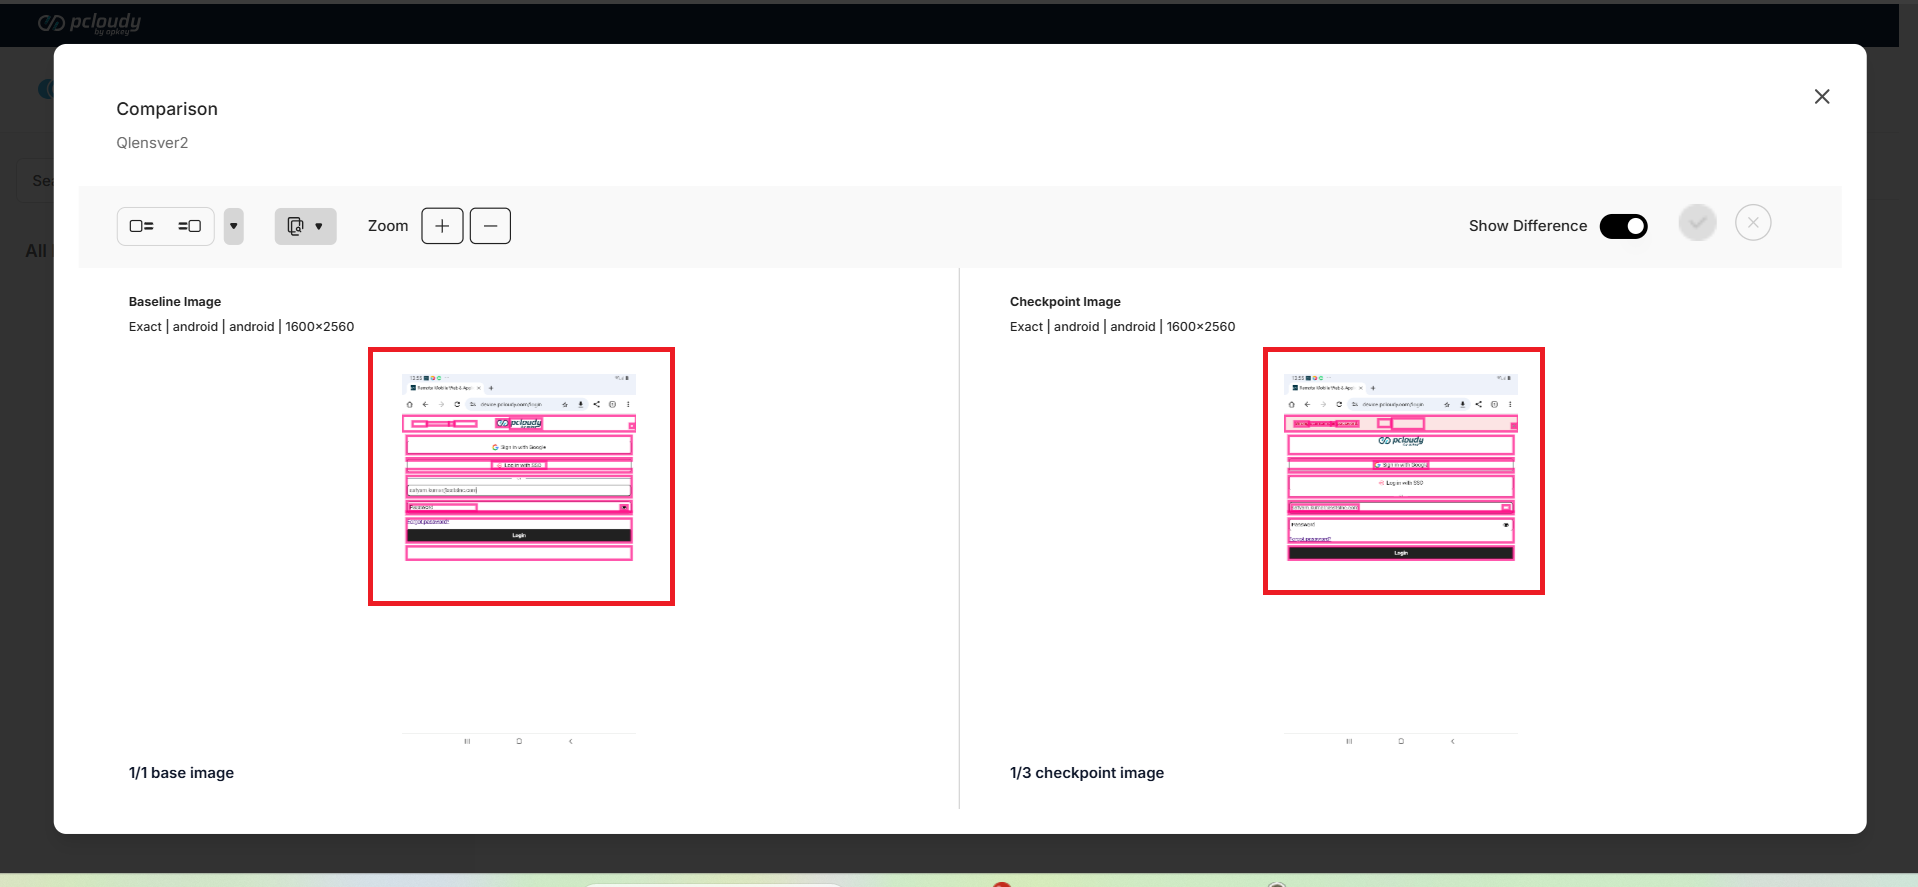
Enable the "Show Difference" option to highlight differences between the baseline and the compared image.
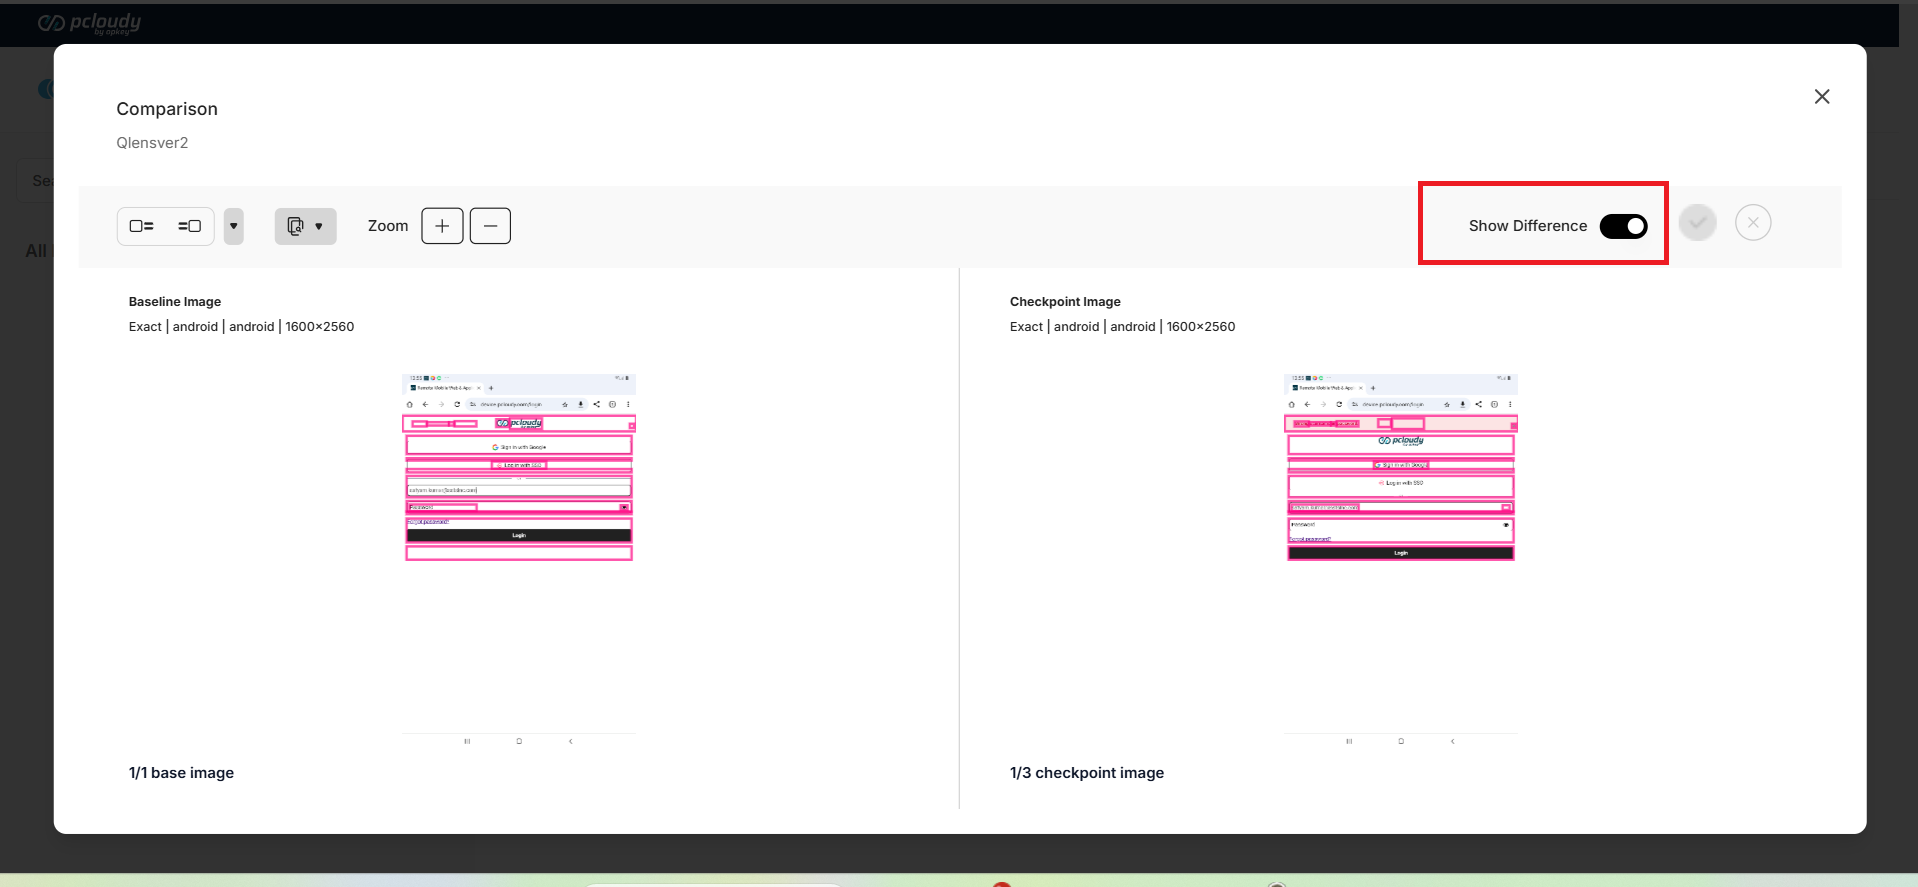
Differences between the images will be automatically highlighted.
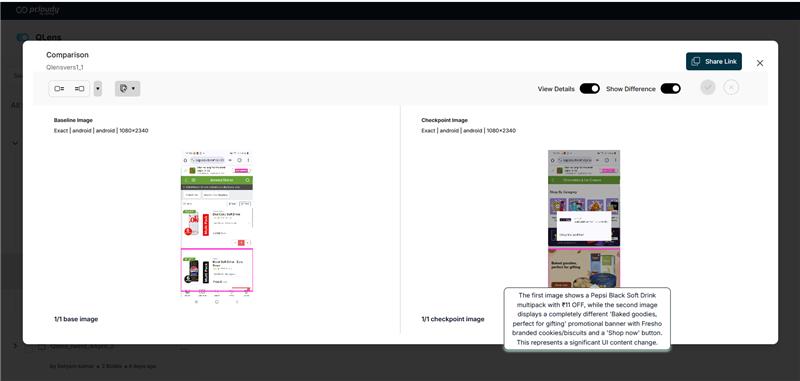
A newly added functionality in 9th April 2025 to automatically highlight all difference points between the baseline and the compared image when the “View Details” toggle is enabled. On hovering over any highlighted area, a text description appears, explaining the specific change or difference.
In a recent update on 9th April 2025, QLens now allows users to share a comparison report with others provided the "Show Difference" option is enabled before sharing the report.
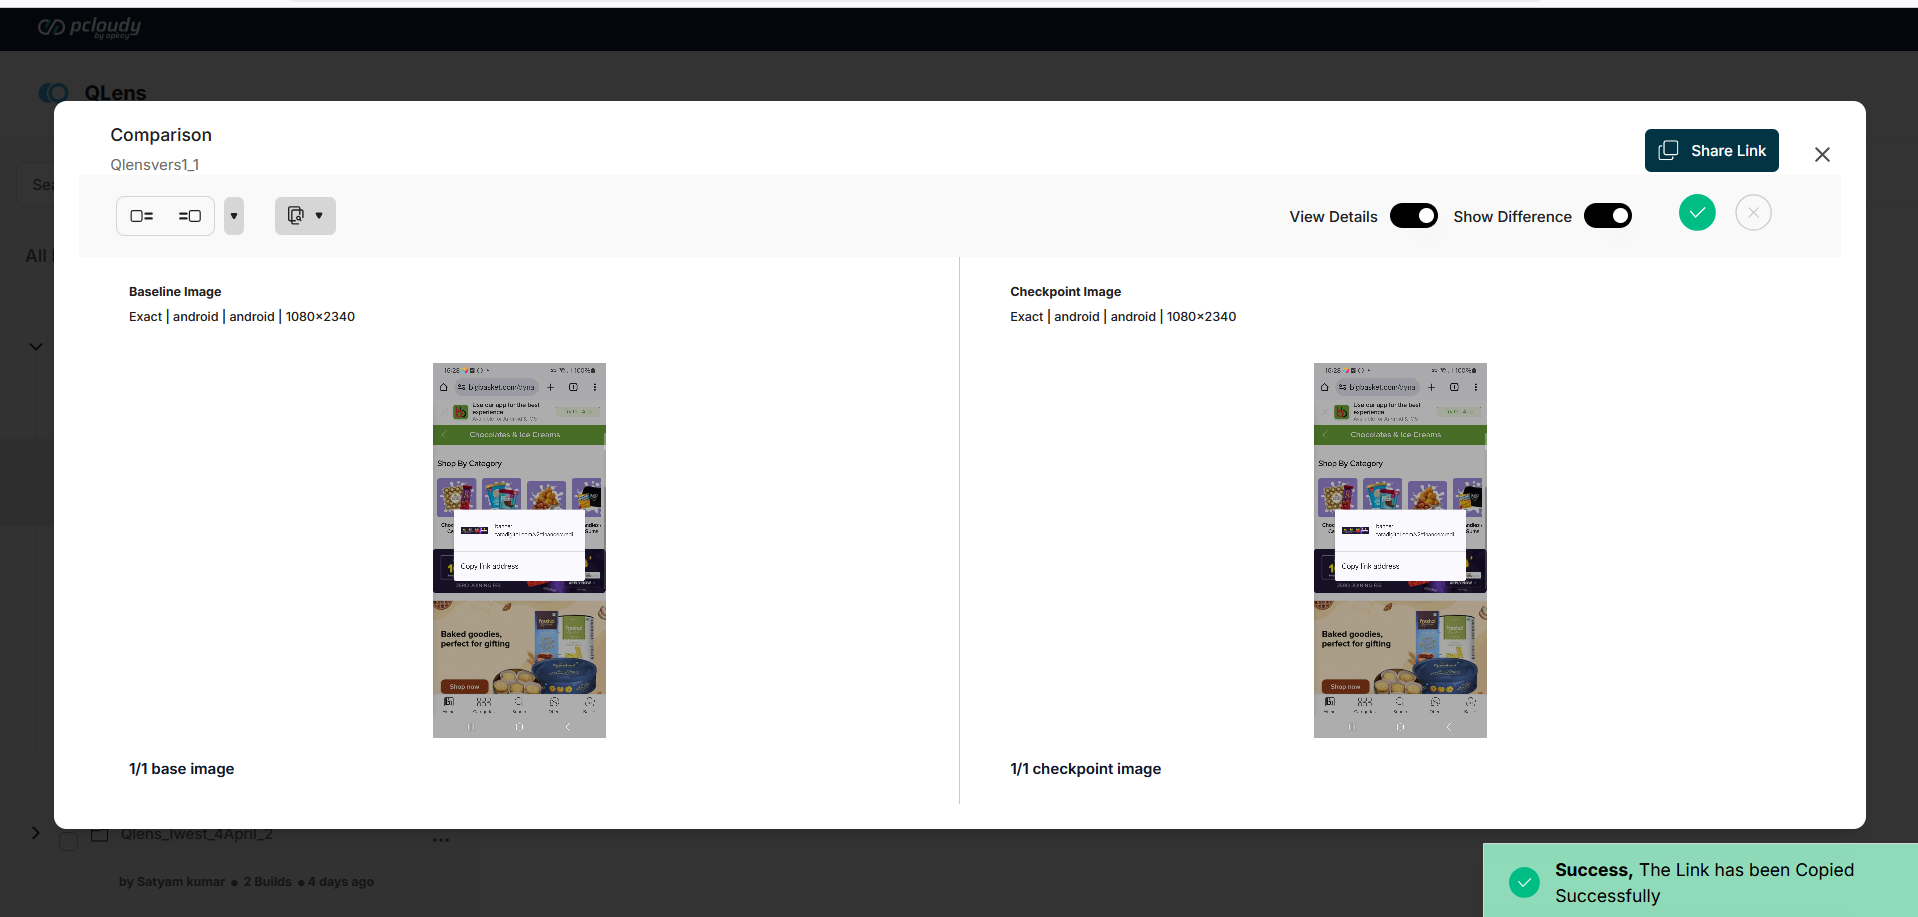
The User will receive a report where they can click on the View Details and Show difference options
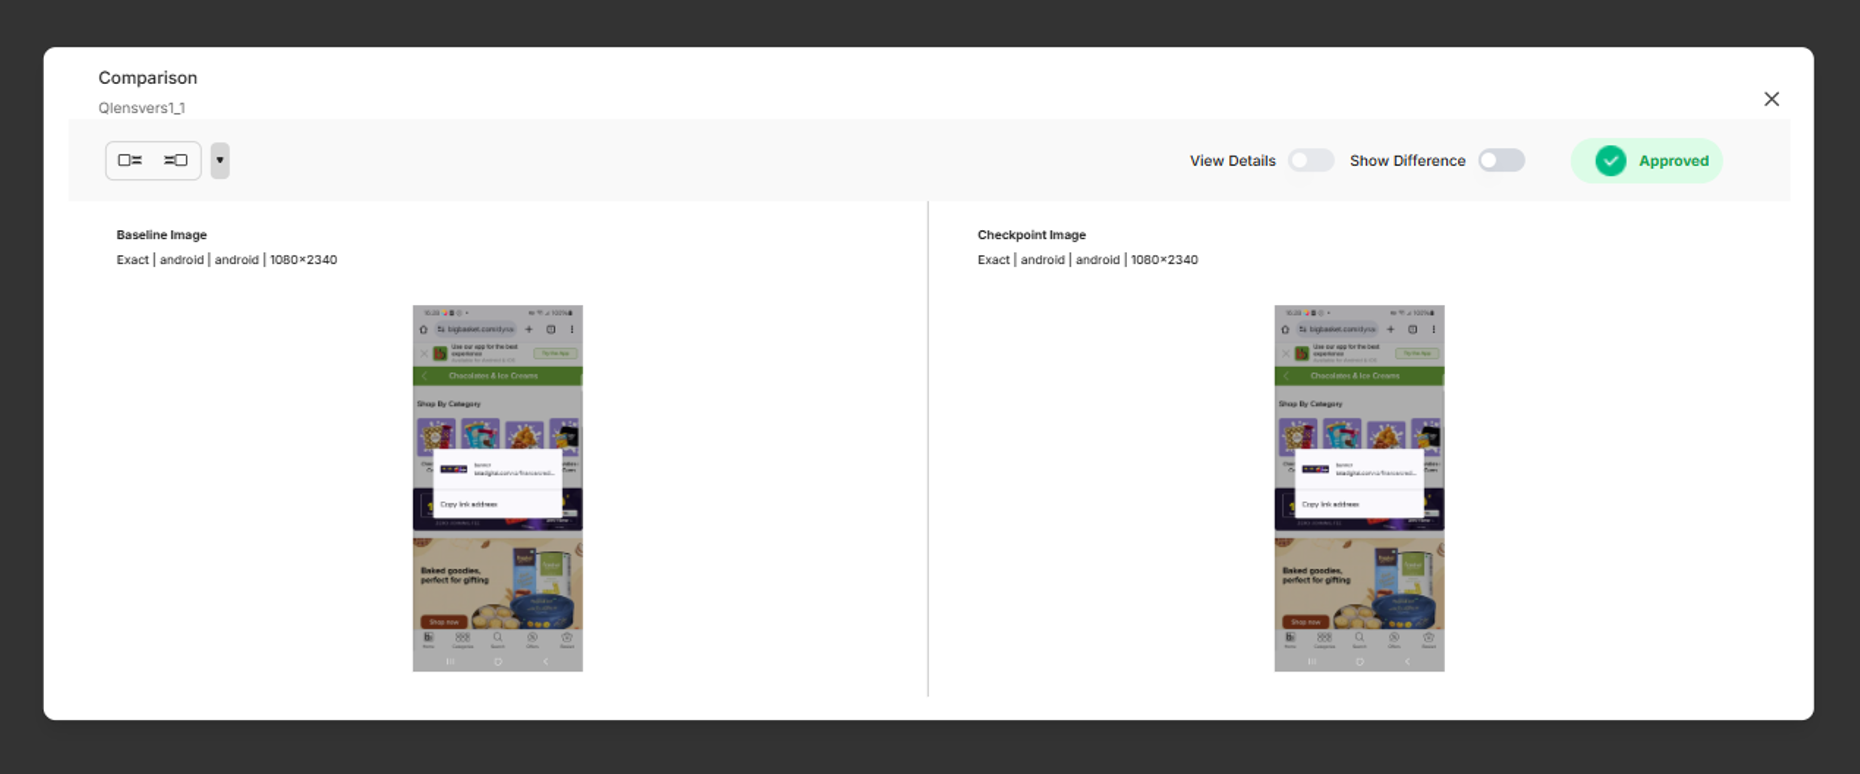
6. Image Comparison and Approval
After comparing images, you can approve or reject them based on the results:
Pass: The compared image becomes the new baseline if approved.

You will receive a notification to approve or reject the new image as the baseline

Fail: The baseline remains unchanged if rejected.

7. Comparing Images of Artifacts (Same or Different)
There are two main comparison scenarios:
- Comparing Images of the Same Artifact - You can compare images of the same artifact across various conditions (e.g., different browsers, resolutions, or devices).
- Comparing Images of Different Artifacts - When comparing entirely different artifacts, a new run will automatically be created, allowing you to manage and compare them separately.
Comparison Parameters:
- Resolution
- Operating System (e.g., Android, iOS)
- Platform version (e.g., Android 10, iOS 14) can be same but resolution of both device should be same.
Ex. Android 10 and Android 11, but resolution should be same
Note: execute the same run multiple times with the same build name, a new instance will be created with a unique identifier (e.g., Build 1, Build 1A). There is no overwriting of existing builds.


